
We had the pleasure of decluttering and organizing the kitchen of Celebrity Mom Blogger and Model Amanda Griffin Jacob. She had just moved to a new condo unit with a kichen that had been renovated in a beautiful white and gray color palette.
WHY A WHITE REFRIGERATOR?
One of the things that we recommended to her was to use a white refrigerator instead of a stainless steel one. And it made a huge impact on the space because initially the stainless steel one was really huge and overwhelmed all-white kitchen. This white Samsung inverter double door ref was slim, yet had a huge capacity without sticking like a sore thumb.

The first thing we do when decluttering is remove everything from all the drawers and cupboards. This first step in the #KonMariMethod really helps us from being overwhelmed by all the stuff. And it helps us start a new.

LABELLING WITH DYMO
Labeling is important because it helps the whole household place things back in their place. And for anyone using the kitchen, whether they know the kitchen inside out, or if you have new staff or people, they can easily find things.
It’s important to use the correct labels. I have both the electronic Dymo Letratag and the manual Dymo Embossing Label Maker. The manual embossing refills are cheaper and great for using on kitchen and toiletries because they are water resistent, but doing longer labels can be tedious to make. While the Letratag is faster because it’s electronic, but the original refills can be pricier. I like to order these instead. What’s cool to know is that the also have iron-on refills if you would like to label clothes.
DYMO EMBOSSED LABELS
Because Amanda had chalk board sticker labels, we used it for the bigger jars. For the small jars, we used Dymo Embossing Label Maker. Don’t you agree that they looked really good together in the after photo?

BEFORE: Jars were labelled with masking tape

AFTER: Dymo black embossed + chalk board labels
DYMO LETRATAG
The cool thing about the electronic Dymo Letratag labels is that you can change the size according to your needs. They were perfect for labeling the pantry shelves and drawers because the large font could easily be read. See the before and after transformations below

BEFORE

AFTER

BEFORE
AFTER
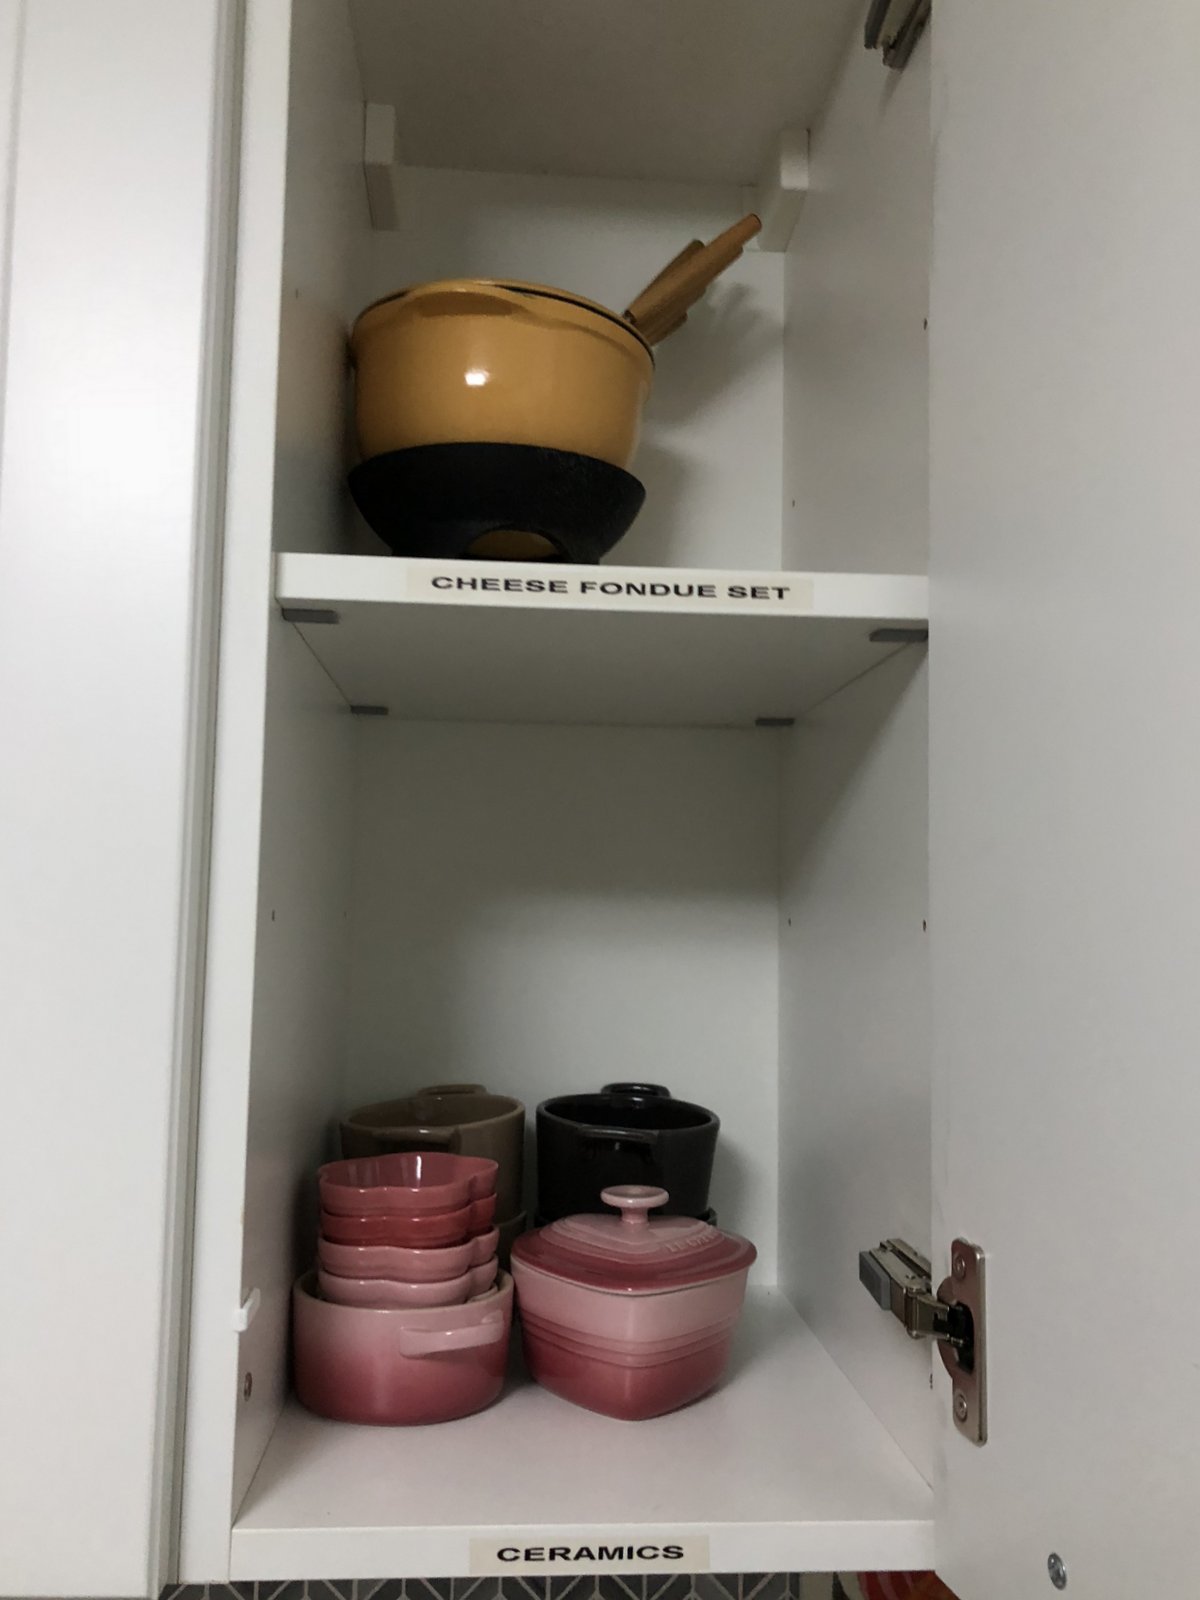
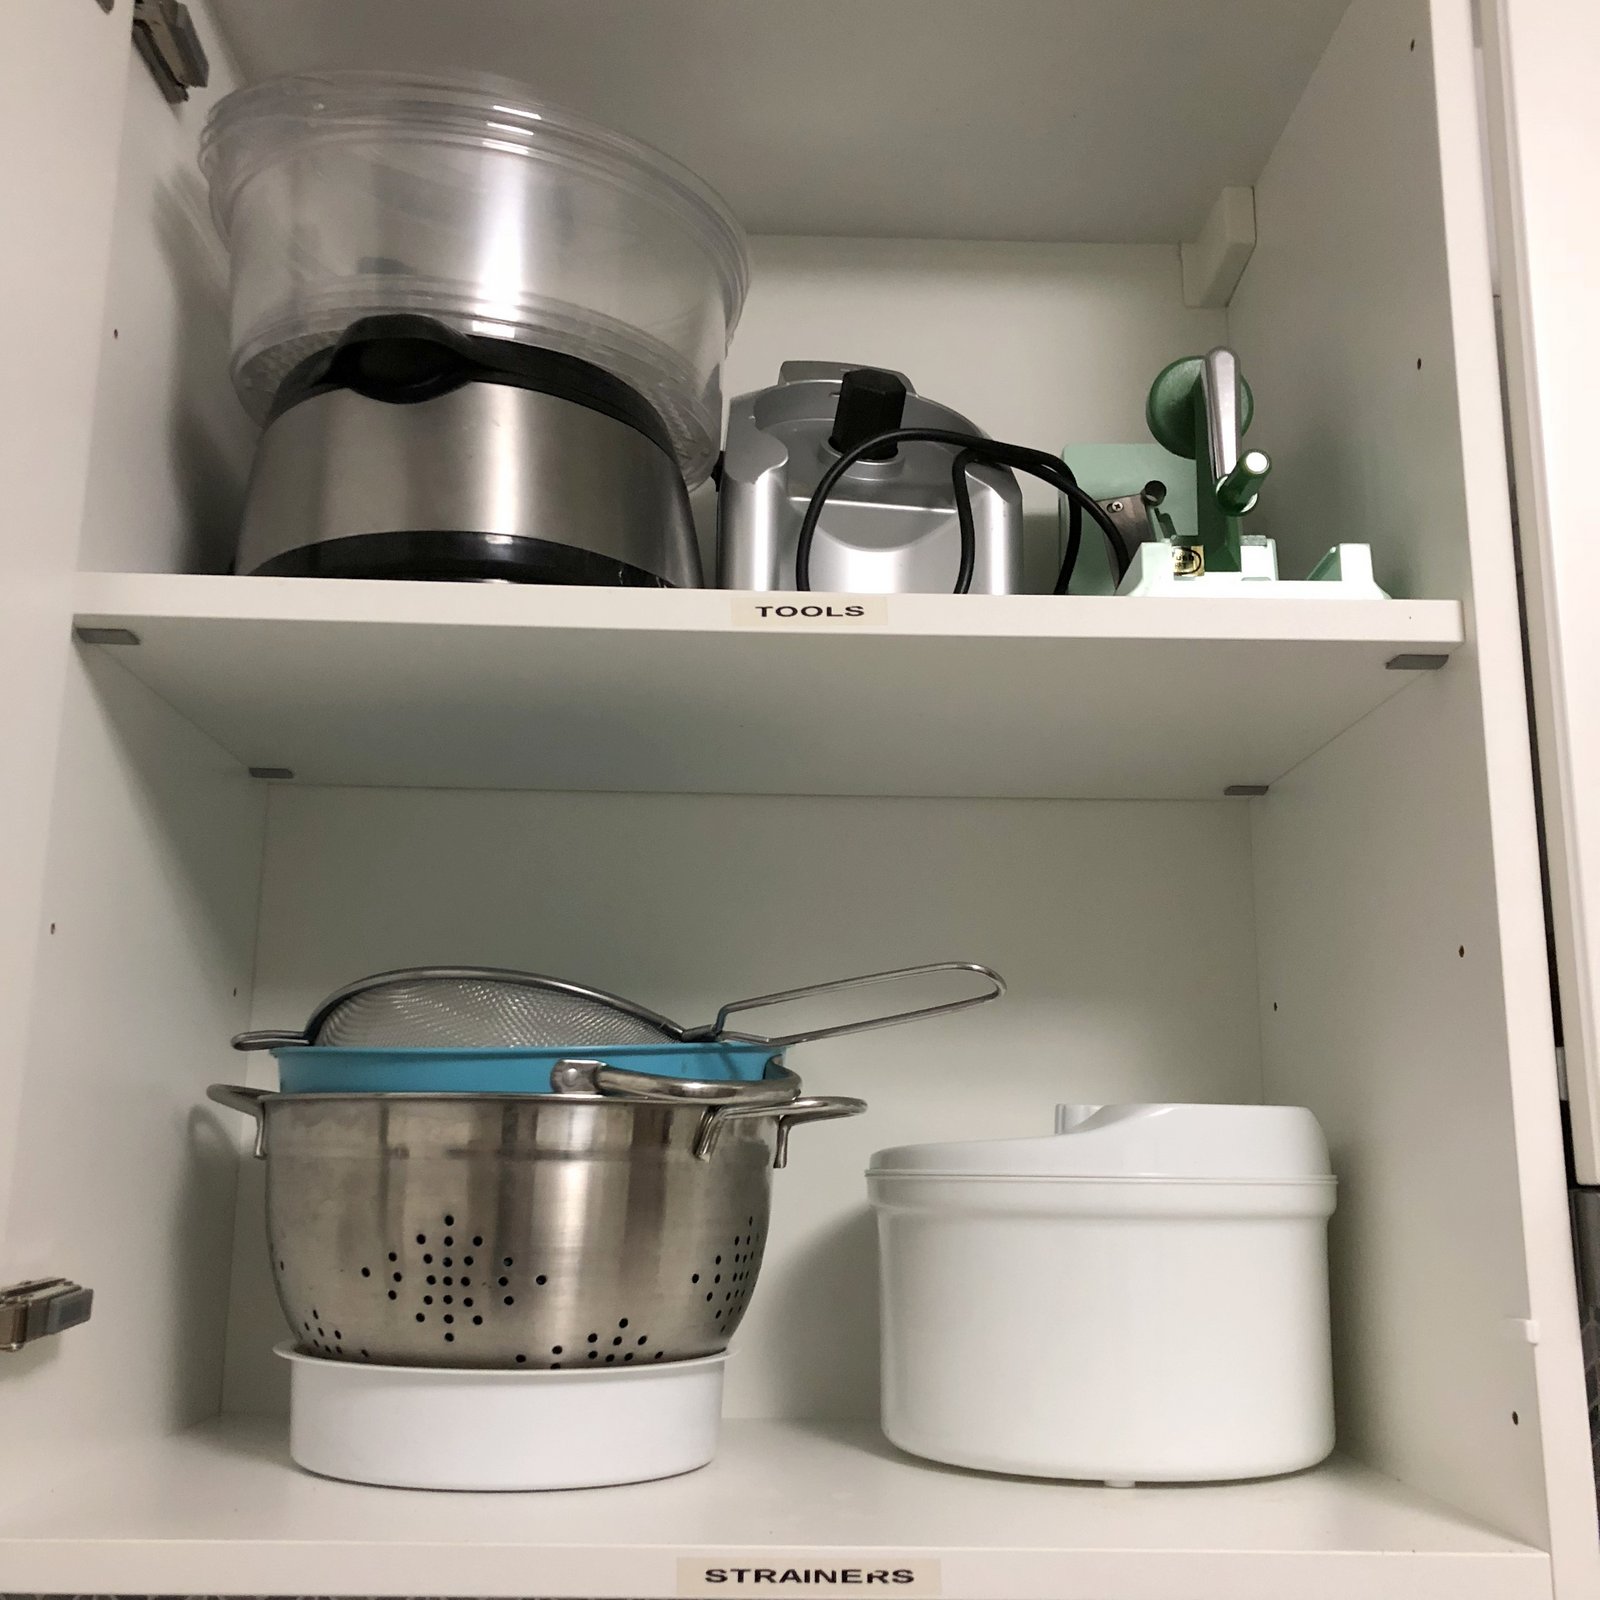
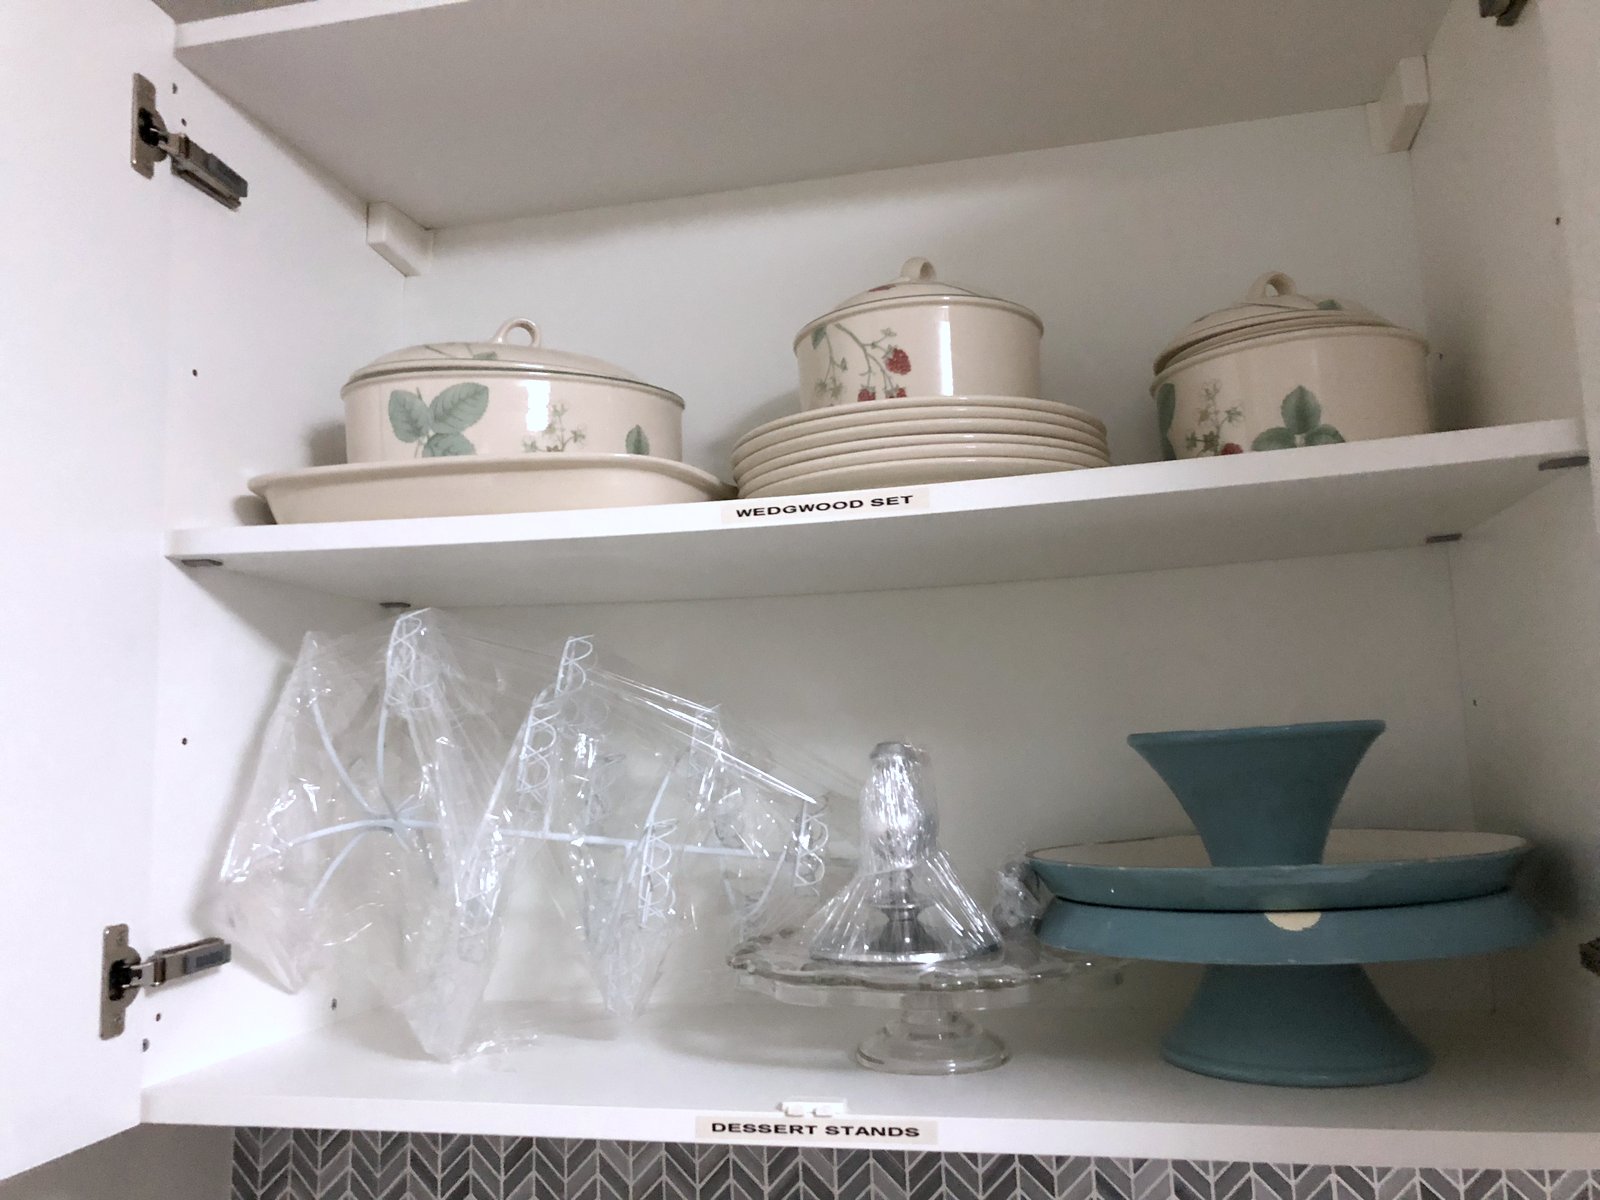
Labeling cupboards and drawers makes it easy to return things in it’s place after using them. After organizing, it’s easier to keep it organized with labels.
Some of the changes were really subtle, like below. We just removed things that were not in the cutlery or serving utensils category, and then we made sure that you could see everything. If you look closely, we placed the spoons and forks sideways so can see each one, instead o piling them on to of each other. Because when you place cutlery on top of each other, it looks messy and they can get scratched.


DISPOSE OF EXPIRED PLASTIC CONTAINERS

BEFORE
Another really important step in decluttering a kitchen is disposing of all plastic items that are expired. What is expired plastic? Plastic containers and tools that are…
SCRATCHED
DISCOLORED
MISSHAPEN
… are considered expired and dangerous because they can leech toxic, cancer-causing, hormone-disrupting chemicals into our food. This is the reason why I recommend shifting to glass, ceramic, porcelain or stainless steel containers to my clients. The best for me in the kitchen is really glass because you can easily see the food inside, you can use it in the microwave and some can be even be used in the oven. If there is plastic, then it’s usually just the covers, which don’t have direct contact with the food. Glass lock containers will last longer than the plastic ones and will stay off the landfills for longer. They will also be more worthwhile to recycle.
After disposing of scratches, discolorations and mishapen plastic items we were left with below:

AFTER: containers + juicers + salad spinner

AFTER: Baking & Cooking utensils
A PLACE FOR EVERYTHING AND EVERYTHING IN IT’S PLACE
The important thing to remember when organizing your home is to place everything of the same category in one place. This prevents us from forgetting what we have and buying more unnecessarily.
So for example it’s quite common to find some office supplies in the kitchen, but I would avoid it, because usually they get oily. In the space below we only left scissors that could be used for 1) poultry/fish and 2) for cutting opening packages. The rest of the items were moved out of the kitchen and into the “office.”

BEFORE

AFTER
We moved the cutlery below to the beautiful buffet in the dining area, so that it’s easier to set the table. The sauce bowls were also moved to the seasoning rack so that serving sauces is made easier.

BEFORE
Since this drawer is right beside the ceramic cookstove, we placed instead cooking and food preparation utensils so that they are in easy reach while cooking.

AFTER
A TIDY KITCHEN IS A HAPPY KITCHEN
In the end we declutter and organize our kitchens so that it works for us, and makes food preparation fast, easy and efficient. Only have out what is the most commonly used items like the ff:
book stand for recipe books
paper towels (do you see the reusable paper towels on the left side of the photos below?)
Drying racks need air flow for dishes to dry (I recommended this one from IKEA because it pulls-out to expand)
Blender if used regularly
Olive oil and salt and pepper grinders
Hand and dishwashing soaps

Other than that a clear counter space is the perfect canvas for home-cooked meals.

What do you think of the tips in this post? Do you have more tidy tips to add? Would love to hear it in the comments below.
If you enjoyed this post, please don’t forget to Pin it! Thank you.

*May contain affiliate links but all opinions are my own.